Hello You! Advance Happy Weekend. It’s been a while since I’ve posted a recipe here on the blog. I do have some recipes and cooking plans to share soon, apart from talking about makeup and some other beauty-related stuff. Today’s post is definitely an ideal one since it’s the Summer, and everyone wants something cool and chilly to have on their palates. This recipe stemmed from my idea of wanting to eat a popsicle on a hot and humid Summer day a couple of weeks ago. I mean, who doesn’t want popsicles or ice creams on a weather this sweltering, right? The problem with most popsicles and ice creams at the local grocery stores or at specialty shops is that they tend to be high in sugar, and if they’re not, they probably have some artificial sweeteners which usually leave a weird aftertaste. I do have a sweet tooth, it’s my weakness, but lately, I’ve cut back my sugar intake and realized that I haven’t craved that many sweets anymore.
So, I decided to make my own popsicle with clean simple ingredients and with less sugar. It’s very easy to do and it’ll probably just take a few minutes of your time. Here’s the recipe.
Ingredients:
For Blending:
1 cup whole milk or whichever you prefer
1/4 cup condensed milk (add 1/4 cup more if want your popsicles sweeter, also, you can use granulated sugar).
1/3 cup whole raspberries
1/2 cup SunGold kiwi (peeled and quartered)
1/2 cup water
Set-aside:
1/3 cup (2.8 oz ramekin) peeled and thinly sliced SunGold kiwi (I prefer this kind of Kiwi because it’s less acidic, sweeter, and juicier than a regular Kiwi)
1/3 cup (2.8 oz ramekin) sliced and whole raspberries
Materials:
A Personal Blender or single-serve smoothie-maker. Any other smoothie-maker regardless of size and brand will do. Here in the photo, I use the Epica Personal Blender I bought on Amazon, but it’s currently sold out. I’ve also had good experiences with Oster My Blend Blender with Travel Sport Bottle, and the Nutri Ninja Pro Personal Blender.
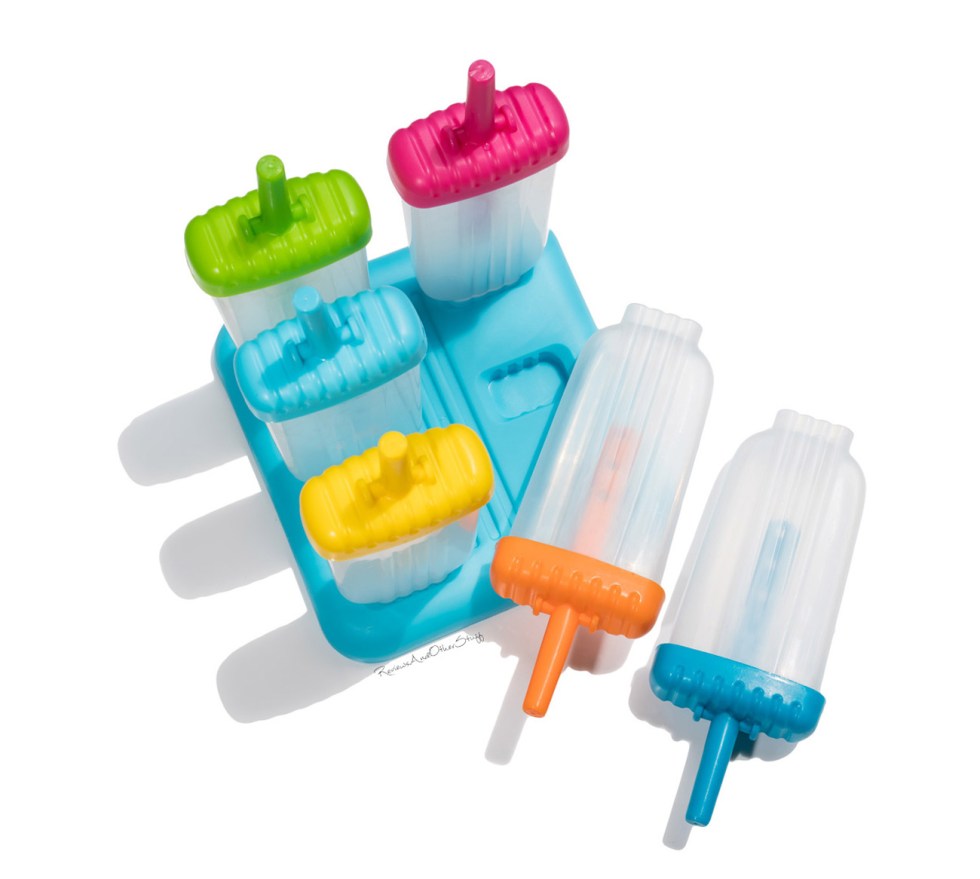
Popsicle Molds – There are several on Amazon, but I especially like the Ozera Reusable Popsicle Molds in assorted colors. It comes in a silicone funnel and a small brush for cleaning. The size is about 2 x 4.5 inches.
Direction:
- Blend all the ingredients found in the “For Blending” list with a personal blender. It takes about a few seconds. Blend it until it looks like a smoothie. The Epica Blender used here is about 20 oz and it’s great for making a single-serve smoothie. It’s easy, sturdy, and efficient to use. It’s also convenient to clean and it crushes ice easily. I use it a lot to make a smoothie or juice post-workout. It comes in a sealable lid so you can just take the bottle to-go. Also, it’s spill-proof and break-resistant.
- After blending, it should look a bit purplish. Transfer the blended contents (smoothie) to the popsicle molds using the silicone funnel, stopping halfway to add the set-aside kiwi and raspberry. Also, try putting the kiwi and raspberry first on some molds, then pour the smoothie next. Do it alternately to add some design and style to your popsicle. I like these plastic molds a lot, they’re really sturdy and they’re so easy to use. They’re designed with a drip guard so you won’t get the sticky fingers while eating the popsicles. Also, the molds come with a stand so that they won’t tip inside the freezer, and it that way, they can be easy to store.
- Make sure you don’t fill up the popsicle molds completely. Place the lid with the stick back to the molds. Once you’re done, it should like the picture above. Take note that you’ll probably still have some smoothie left in your blender. Either you can drink it, save it, or add some more ingredients to it so you can make another smoothie. Whichever works for you.
- Make sure that the molds are properly sealed and are supported well by the stand, then place them in the freezer.
- Wait a few hours (3 or 4 at least) for the popsicle to be ready. I usually leave mine overnight. Serve it and Enjoy! If the molds are difficult to remove, just run it under warm water and it can be pulled out easily. The stick with drip guard holds onto the popsicle very well.
My tolerance to sweets may be a lot different than yours, so feel free to add more sugar if you don’t find these popsicles sweet enough, or you can even use purees, juices, gelatins, jams, and even puddings as popsicles. It’s a lot of fun to experiment and customize this recipe, and it’s a great and entertaining activity for you and for your family.
*measuring cups and ramekins used in this recipe are from HomeGoods.


